Import examinees
Written By Florian Barral
Last updated 8 months ago

You can import examinees in four different ways:
Add one by one. Add all examinee information directly in the interface: First name / Surname / Email / Student number

Type or paste the emails. Just copy and paste the emails directly into the interface.

💡 If you have already imported examinees in your organization or in other exam and they have an account, their first name, surname and student number will be retrieved automatically.
Import from an Excel file. Complete the Excel template file on your computer and drag and drop the file to import everything in bulk.

Import from a group from your organization. If your administration or you have already created examinees groups, you can re-import them with one click.

Assign a group to examinees
From the list of examinees
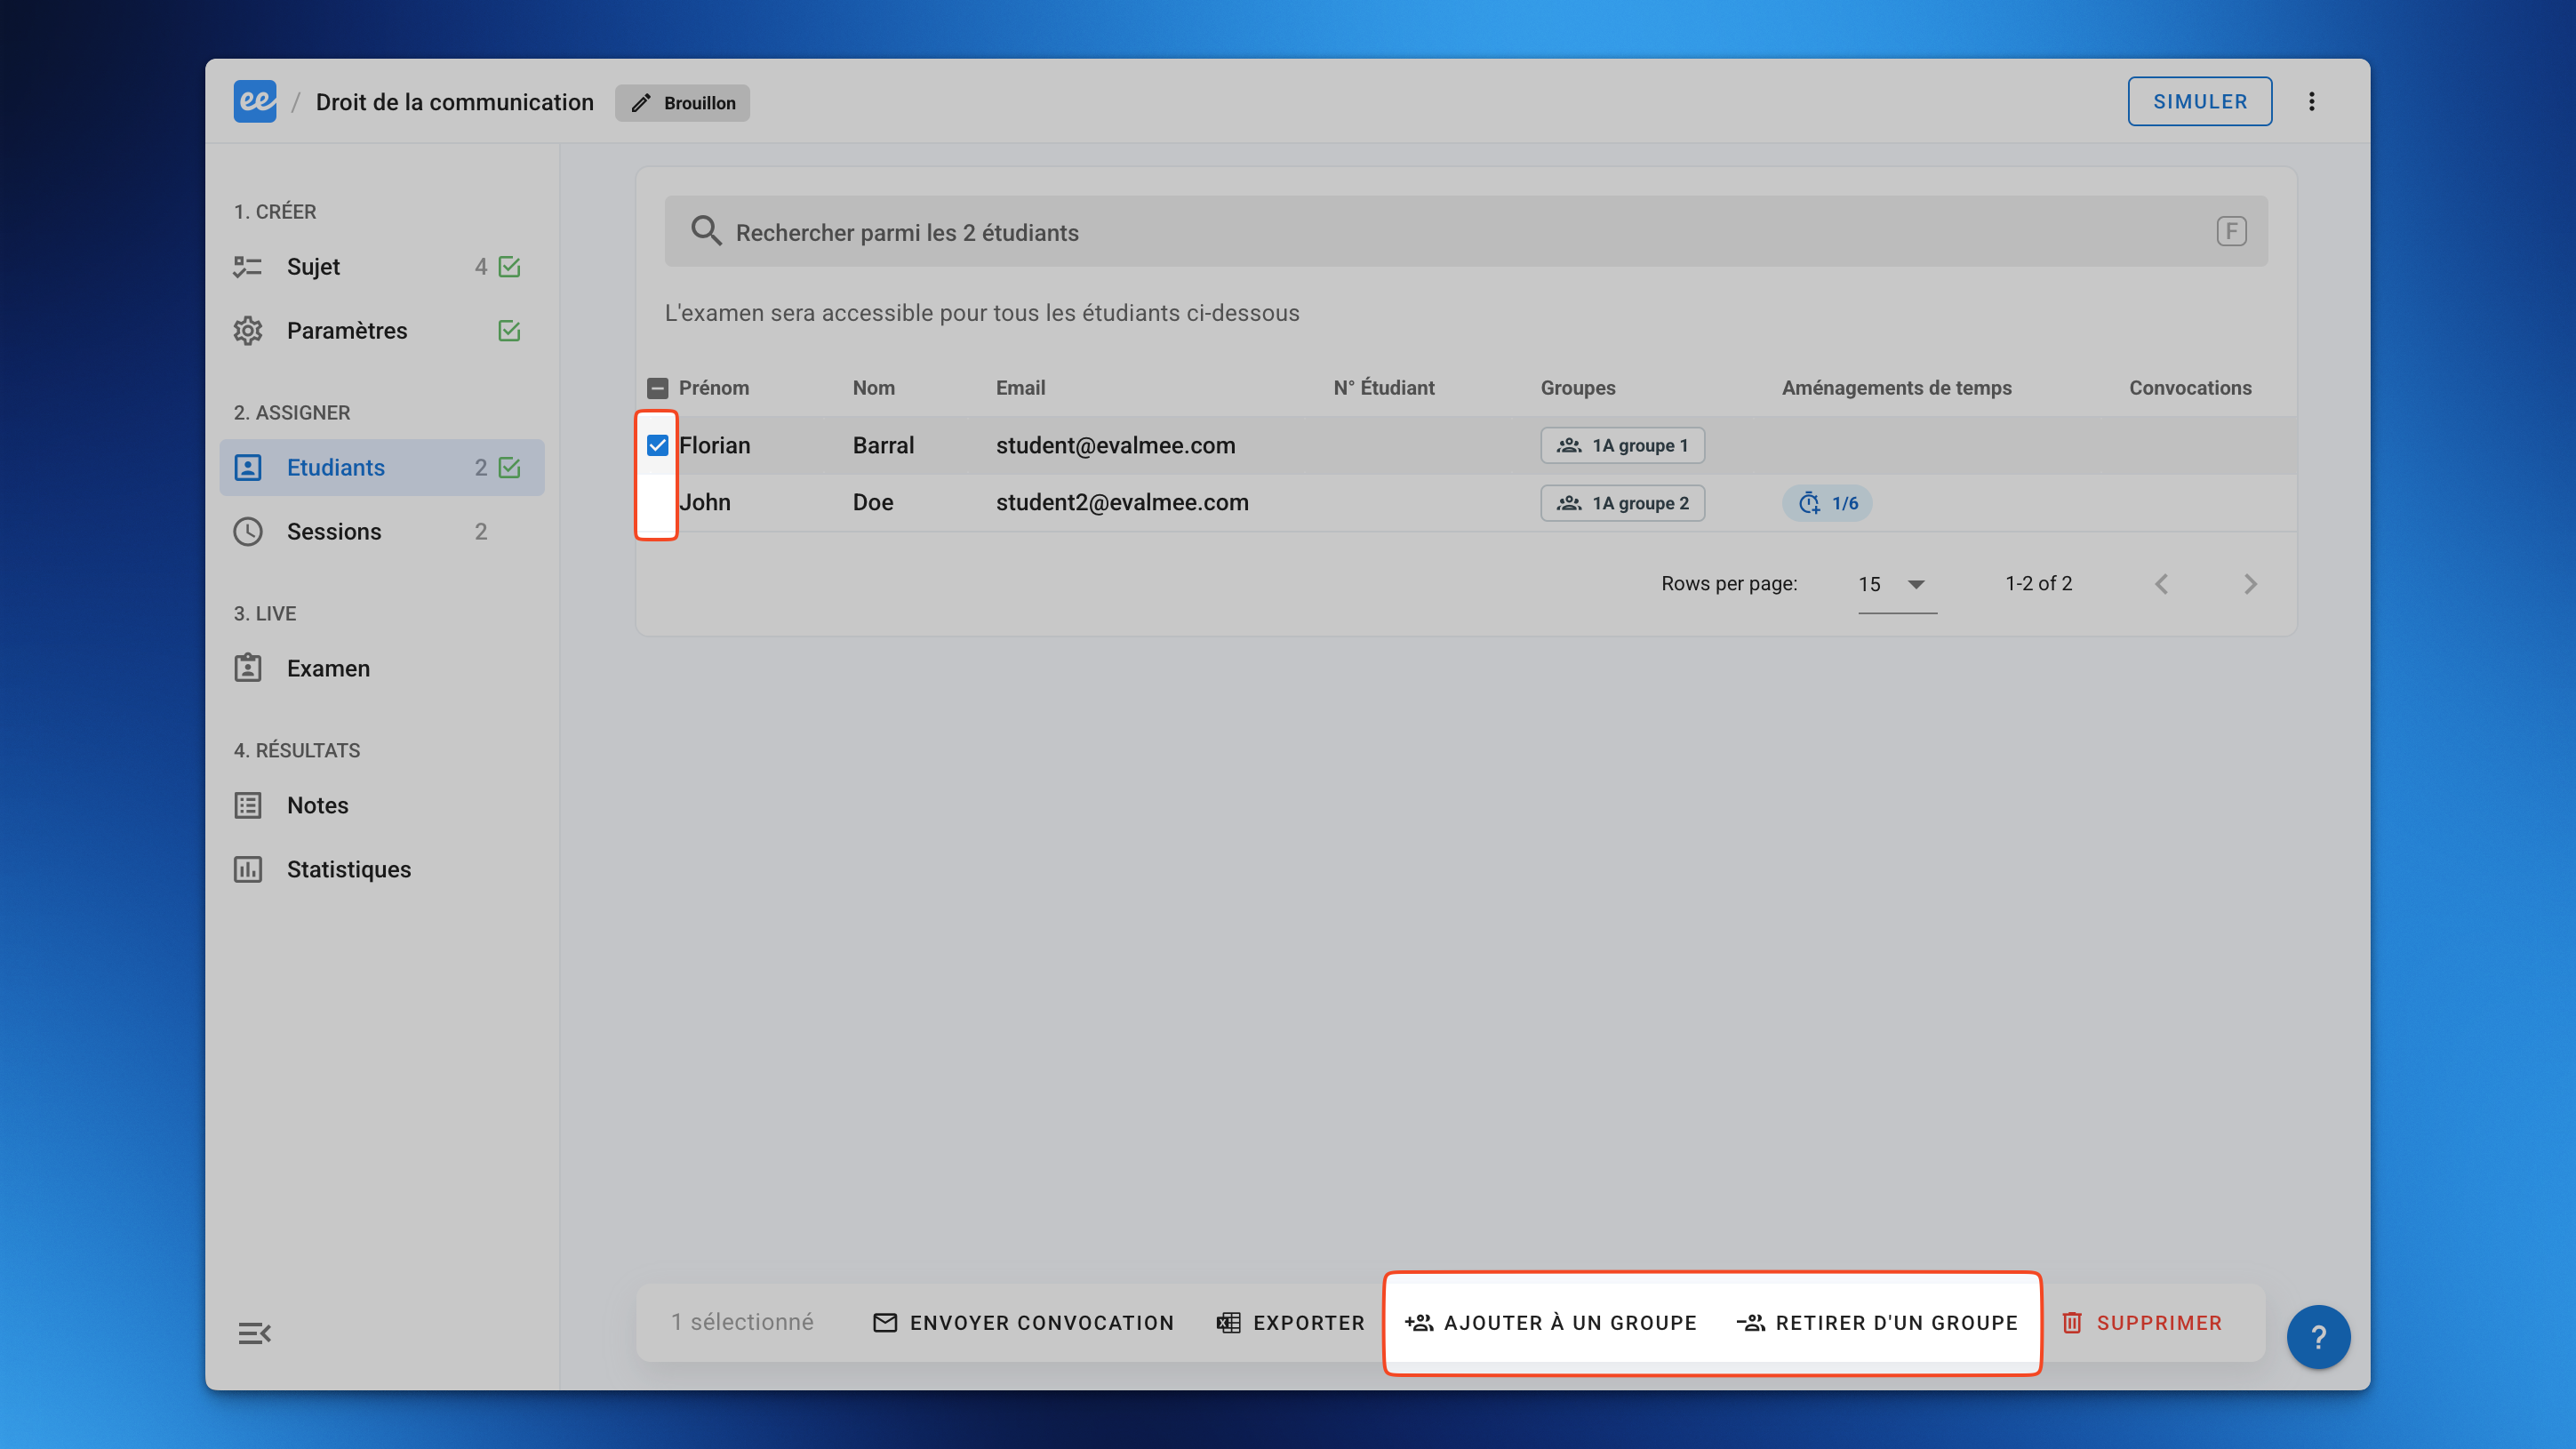
Select the examinees(s) you want to assign to a group.
Click Add to a group or Remove from a group to change the groups for these students.
From an Excel file
When importing examinees from an Excel file, fill in the Groups column of your Excel file with the name of the group(s) for each examinee.
From a school group
When importing examinees from an organization examinees group, a group with the same name is assigned to them in the exam.