Schedule a simple exam (a single exam session)
Schedule an exam’s opening and closing to control participant access.
Written By Florian Barral
Last updated 16 minutes ago
To manage several exam sessions in parallel, see Create & schedule multiple sessions
1. Open the session
In the exam, open the Assign › Session tab. With a single session, its settings are displayed directly.
2. Schedule the opening
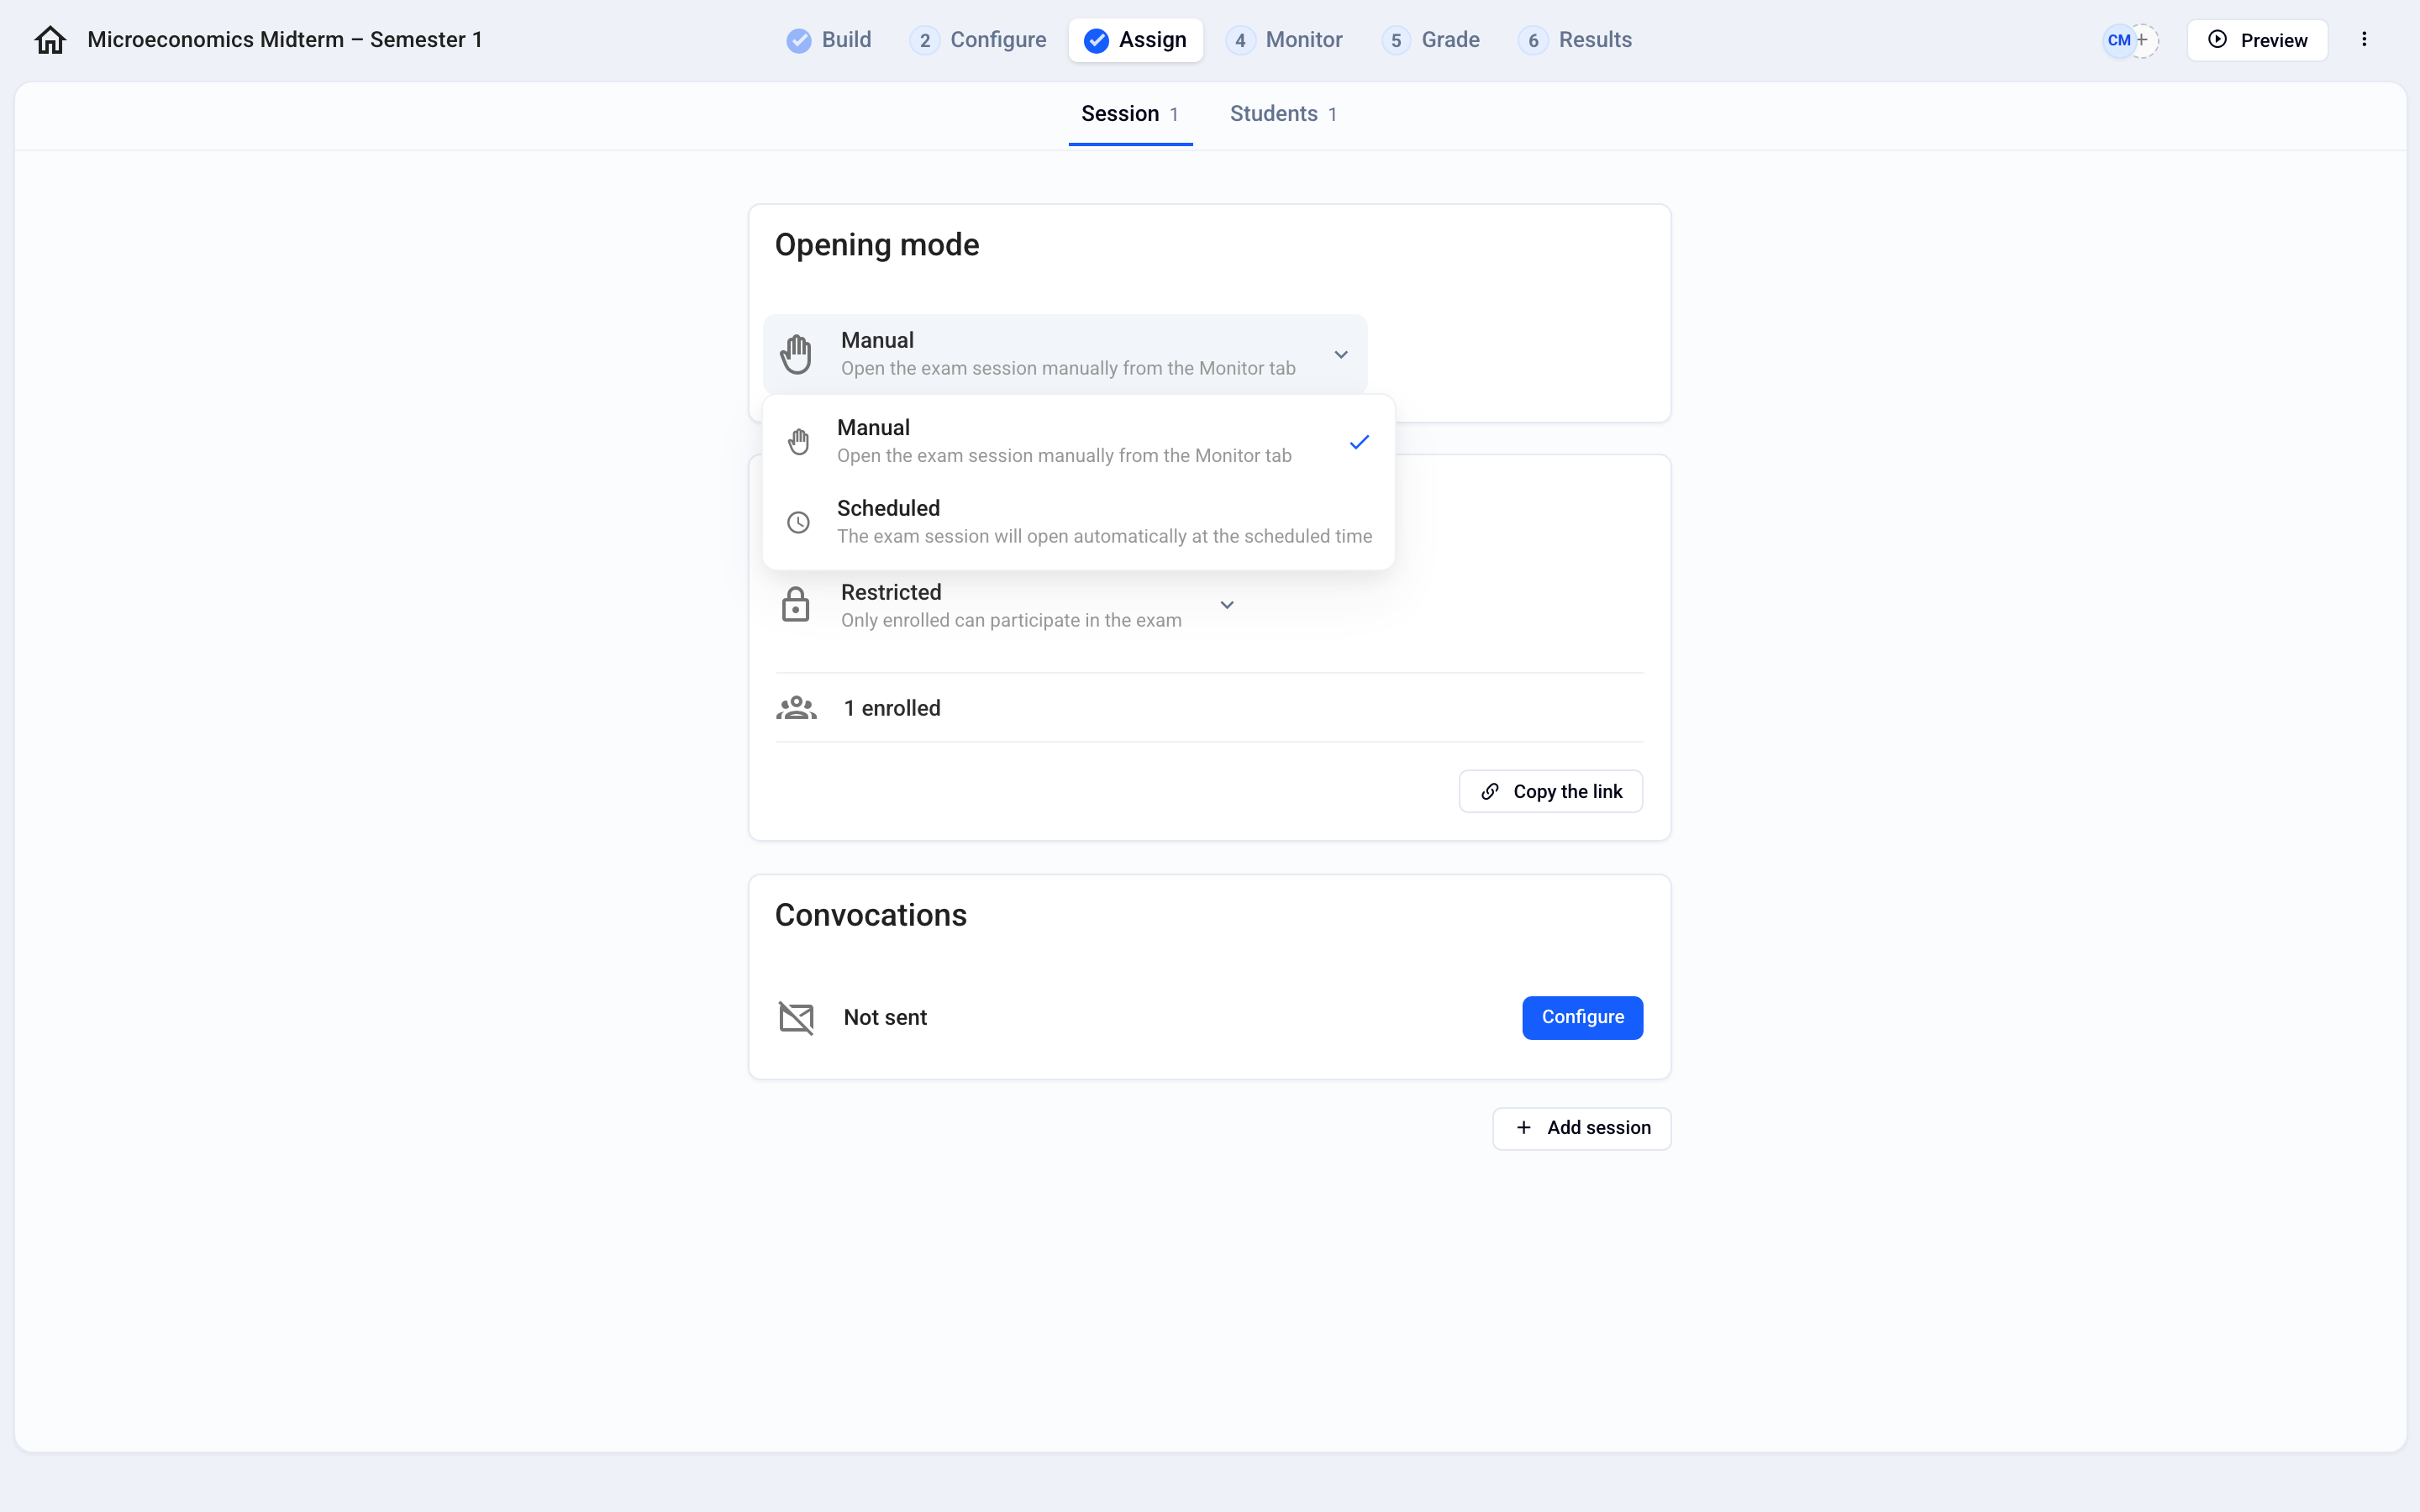
In the Opening mode card, choose Scheduled.
In the Activate Scheduling window, enter the date and time of Opening and Closing. The opening duration is displayed below.
Click Schedule.


⏰ Before the opening time, participants cannot start the exam, even if they have received their convocation. The exam appears in their space 15 minutes before opening.
To open the exam yourself on exam day, leave the mode set to Manual: you will open the session from Monitor › Live, with the Open button.
3. Enroll participants
In the Access card, choose who can take part:
Restricted: only enrolled participants. Add them with Add students or from the Students tab.
Your organization: any member of your organization who has the link can enroll.
Anyone: anyone who has the link can enroll.

To share the enrollment link, click Copy link.
4. Send convocations
In the Convocations card, click Configure, choose a template, then click Send convocations. Each participant receives their personal link, the instructions and the schedule.
📩 Schedule the session before configuring the convocation: the template then automatically picks up the schedule.
FAQ
“If I haven’t opened or scheduled the exam, can participants who received a convocation access the exam?”
“If I haven’t opened or scheduled the exam, can participants who received a convocation access the exam?”
No. They will only see the instructions and the schedule.
Access to the exam is only active from the opening time.
My exam is scheduled but still in “Draft”, is that normal?
My exam is scheduled but still in “Draft”, is that normal?
Yes. The exam stays in Draft until 15 minutes before the opening time, then automatically switches to Published and becomes visible to your participants.
Was this helpful?
Still need help? Ask the team